Hi there! This is Sunny. And I'm here today to show you how to add an accessory to your pose. This is very similar to adding and using props in your pose. In fact, to start with, you're going to need the accessory you want to pose with ready at hand in .package format. Once you do, make sure you know where you put it and here we go!
First off, Open blender with the rig of your choice. It doesn't matter which one really, so long as the rig you open has the ability to access the accessory you are going to use in game. If a child sim cannot use the accessory it's pretty pointless to make a pose with a child rig with the accessory.
Once your rig is open navigate along the lower right hand menu until you get to the S3PY Rig Tools Menu. From that menu select Load CAS.
Ah! It's looking familiar isn't it? This is the same menu that comes up when you want to load a prop. Use the menu to navigate to your accessory and select it. Once it's highlighted in orange you'll click "Import Sims 3 Prop" in the upper right hand corner.
And there's Fred with his handy dandy LightSaber! But look! Fred's joints are all orange and we appear to be in Object Mode. Never Fear! This is actually very easy to solve. Select any joint on your rig and right click it.
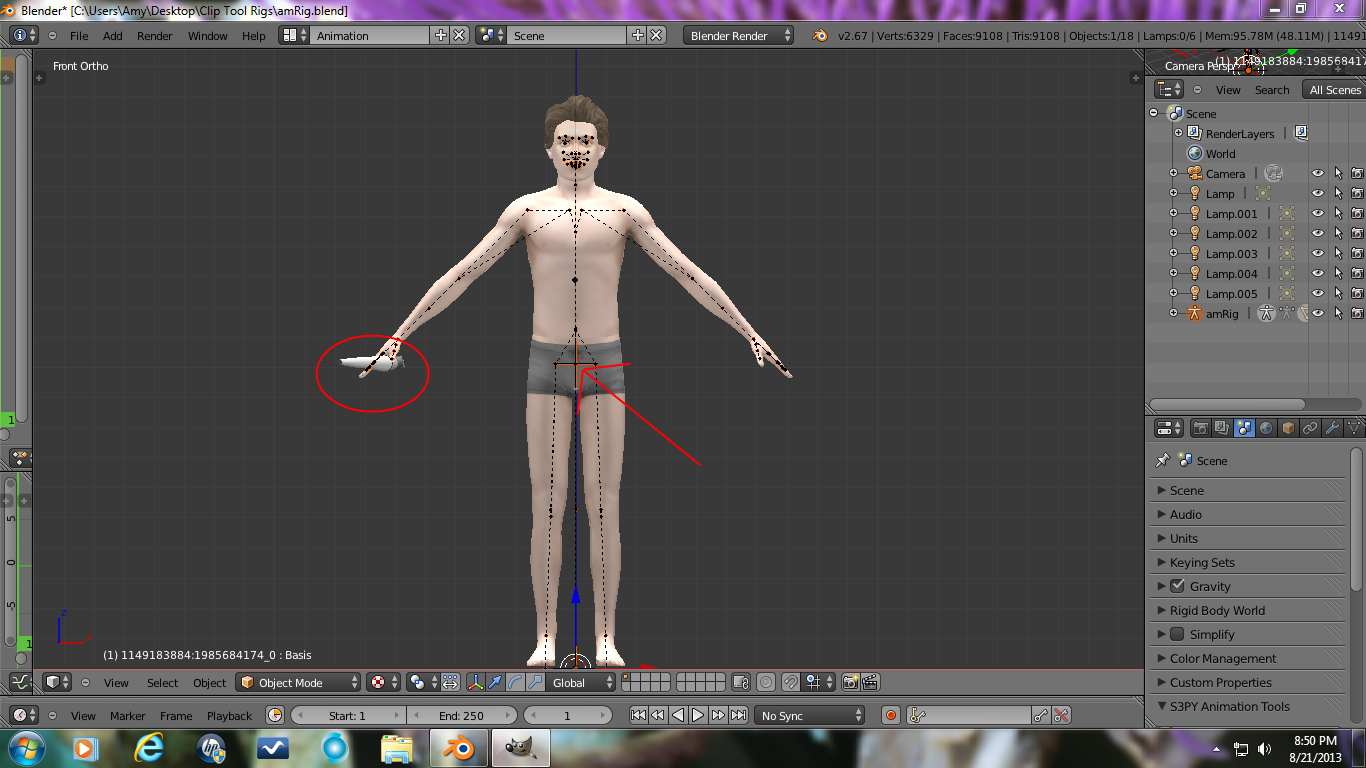
All the rest of his joints will then be blue also, and the mode automatically switches over to pose mode. Which means you're now you're all ready to pose Fred...
Saluting the Bride and Groom with his Lightsaber while throwing salt over his left shoulder. Because you never know what a story teller will need. Ha!
Hope that clears that right up Gemma!